Creating a New Evaluation
The Evaluation tool can be used to create custom Level 1 and Level 3 evaluations. These evaluations can then be associated with any resource within the LMS.
Once complete, the evaluations can be selected on the Details tab of any learning resource.
If you are using a custom rating scale on an evaluation, you must first create this scale before you create the evaluations. To enter the rating scale, go to Resources > Administer Likert Scale. See How to Create a Likert Scale for detailed instructions on how to enter the scale.
New Evaluation
The Evaluation tool can be found in Navigation Bar of the the Administrator's Console, under Resources > Maintain LMS Evaluations. The Overview screen will appear.
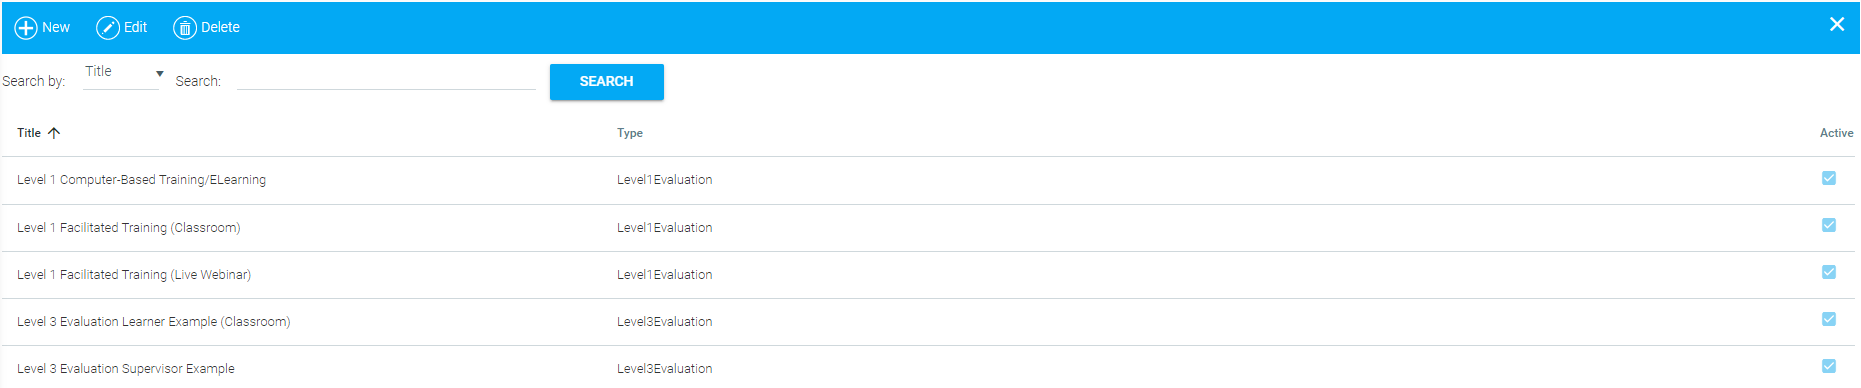
To edit an existing evaluation, highlight the selected evaluation and then click Edit in the top toolbar. To create a new evaluation, click New in the top toolbar.
When creating a new evaluation, the following screen will appear:
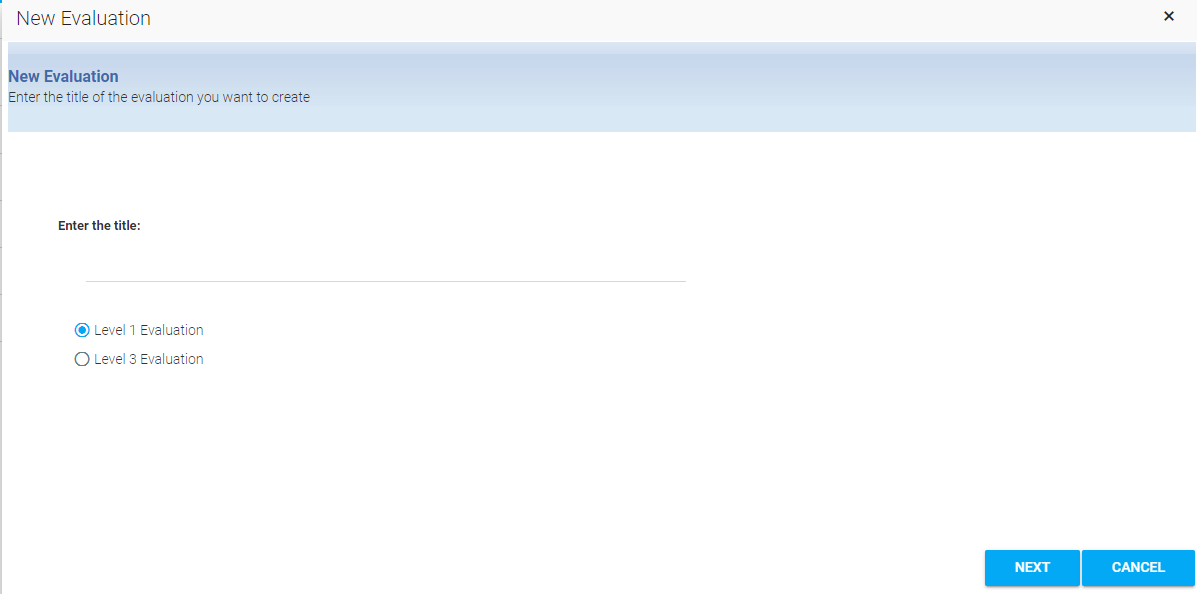
The Evaluation title is what will appear on the Resource screen in the list of available evaluations.
Select if this evaluation should be used as a Level 1 or Level 3 evaluation.
Level 1 and Level 3 evaluations will have the same options on the following screens. This information is just used to determine which drop-down they should appear in on the Resource screen.
Click Next to begin creating the evaluation.
Set Evaluation Properties
The screen pictured below, referred to as the Overview screen, is where all of the content will be added. Before you add the evaluation questions, you should set the Evaluation Properties.
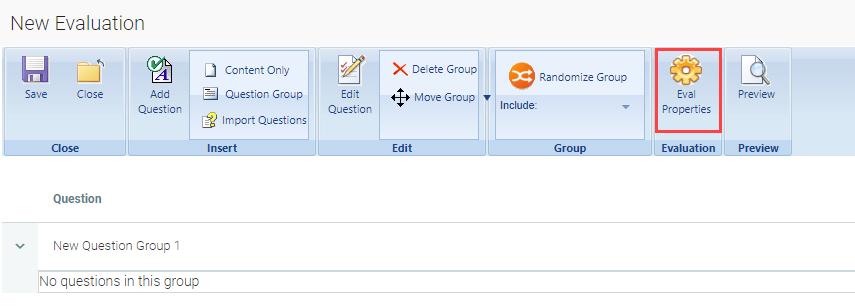
Click Eval Properties and the Evaluation Properties pop-out box will appear.
Evaluation Info Tab
The first tab controls general options for this evaluation.

- Evaluation Title
- You can change the here title, if desired.
- Active
- The default is for the evaluation to be active, but it can be inactivated by unchecking the box so that an incomplete evaluation does not become available to add to a resource.
- Passing Score
- Ignore this box. Evaluations cannot be scored.
- Complete upon Exit
- This box should be checked to ensure that the evaluation is considered complete upon the user's exit.
- Disable Tracking of Time
- Check this box if you do not want the LMS to keep track of how long it took for the user to complete the evaluation.
- "Next" Button Text
- Enter the text that will be used as the label on the Next button. There is no default text, so this field is required or the button will be blank.
- Enable Navigation to Prior Panels
- Check this box to allow users to go back to previous questions while completing the evaluation.
- "Previous" Button Label
- Enter the text that will be used as the label on the Previous button. There is no default text, so this field is required if your users are allowed to go back within the evaluation.
- Template
- Select an existing template for the design of your evaluation, if desired. The template can be used to give your evaluations a unified look. A template may have a customized header and specific button and text formatting. Templates can only be created by LearnShare, so please contact Support if you are interested in having a template created for your system.
Question Defaults Tab
Once the Evaluation Info tab is completed, select the Question Defaults tab, which controls how questions are displayed.
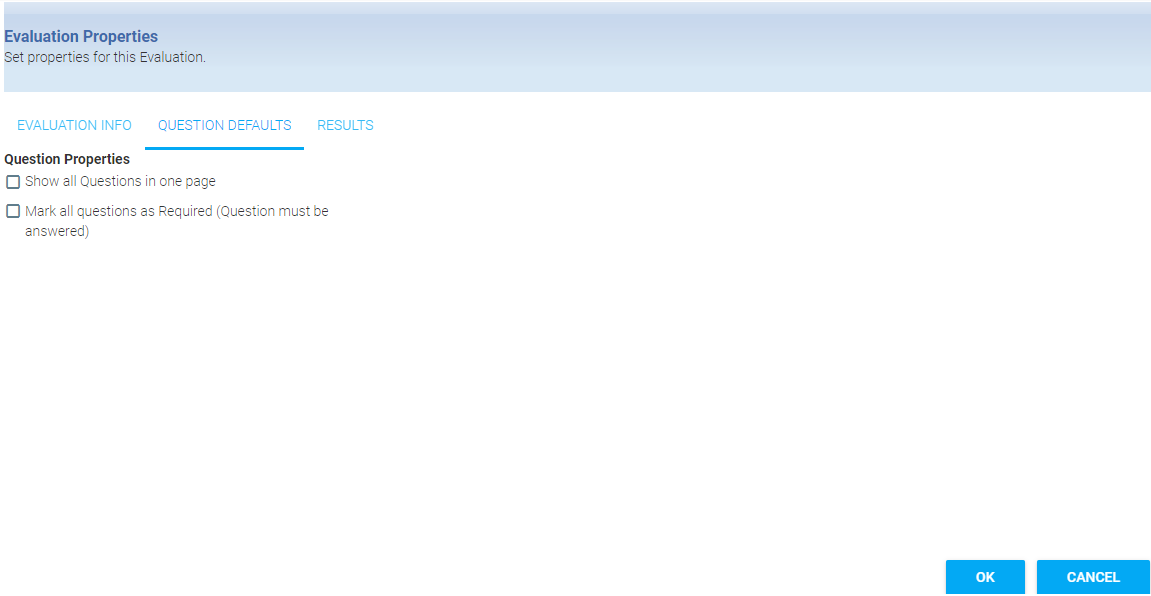
- Show all Questions in one page
- Check this box to have all of the evaluation questions displayed on one page.
- Mark all questions as Required
- Check this box if the user must answer all questions on the evaluation. The requirement can also be set at the question level if you only want specific questions to be required.
Results Tab
The final tab is the Results tab, which allows you to select a closing message and action.
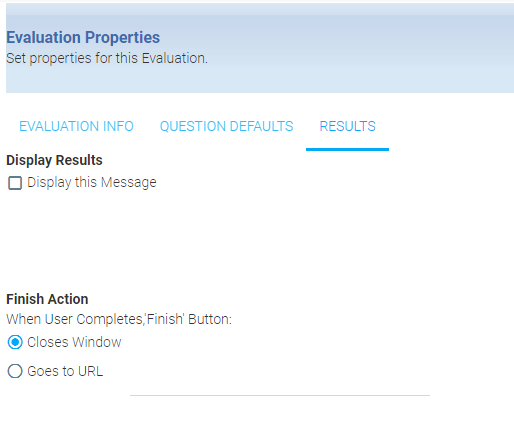
- Display this Message
- Check this box if you would like to add a message that will be displayed at the end of the evaluation. Then enter the message in the text box below.
- Finish Action
- Choose a Finish Action for when the user clicks the Finish button. You may choose either Close Window or Goes to URL (Type the URL into the text box).
When all tabs are filled in, click the OK button. You will be redirected back to the overview screen. Click Save before you begin to add questions.
Related Links
Best Practice Tips for Developing Strong Evaluations
Evaluation Process
Evaluation Questions
How to Create a Likert Scale
Other Evaluation Options